Google Tag Manager is a powerful tool that allows you to manage your website’s tracking and analytics in one place. It is especially useful for those who use various third-party tools like Google Analytics, Facebook Pixel, AdWords, and many others. Google Tag Manager can simplify the process of implementing and managing these tools.
If you are using WordPress for your website, adding Google Tag Manager is straightforward. In this article, we will go through the step-by-step process of adding Google Tag Manager to WordPress.
Create a Google Tag Manager Account

The first step in adding Google Tag Manager to WordPress is creating a Google Tag Manager account. If you do not already have one, go to the Google Tag Manager website and click on the “Sign in” button in the top right-hand corner.
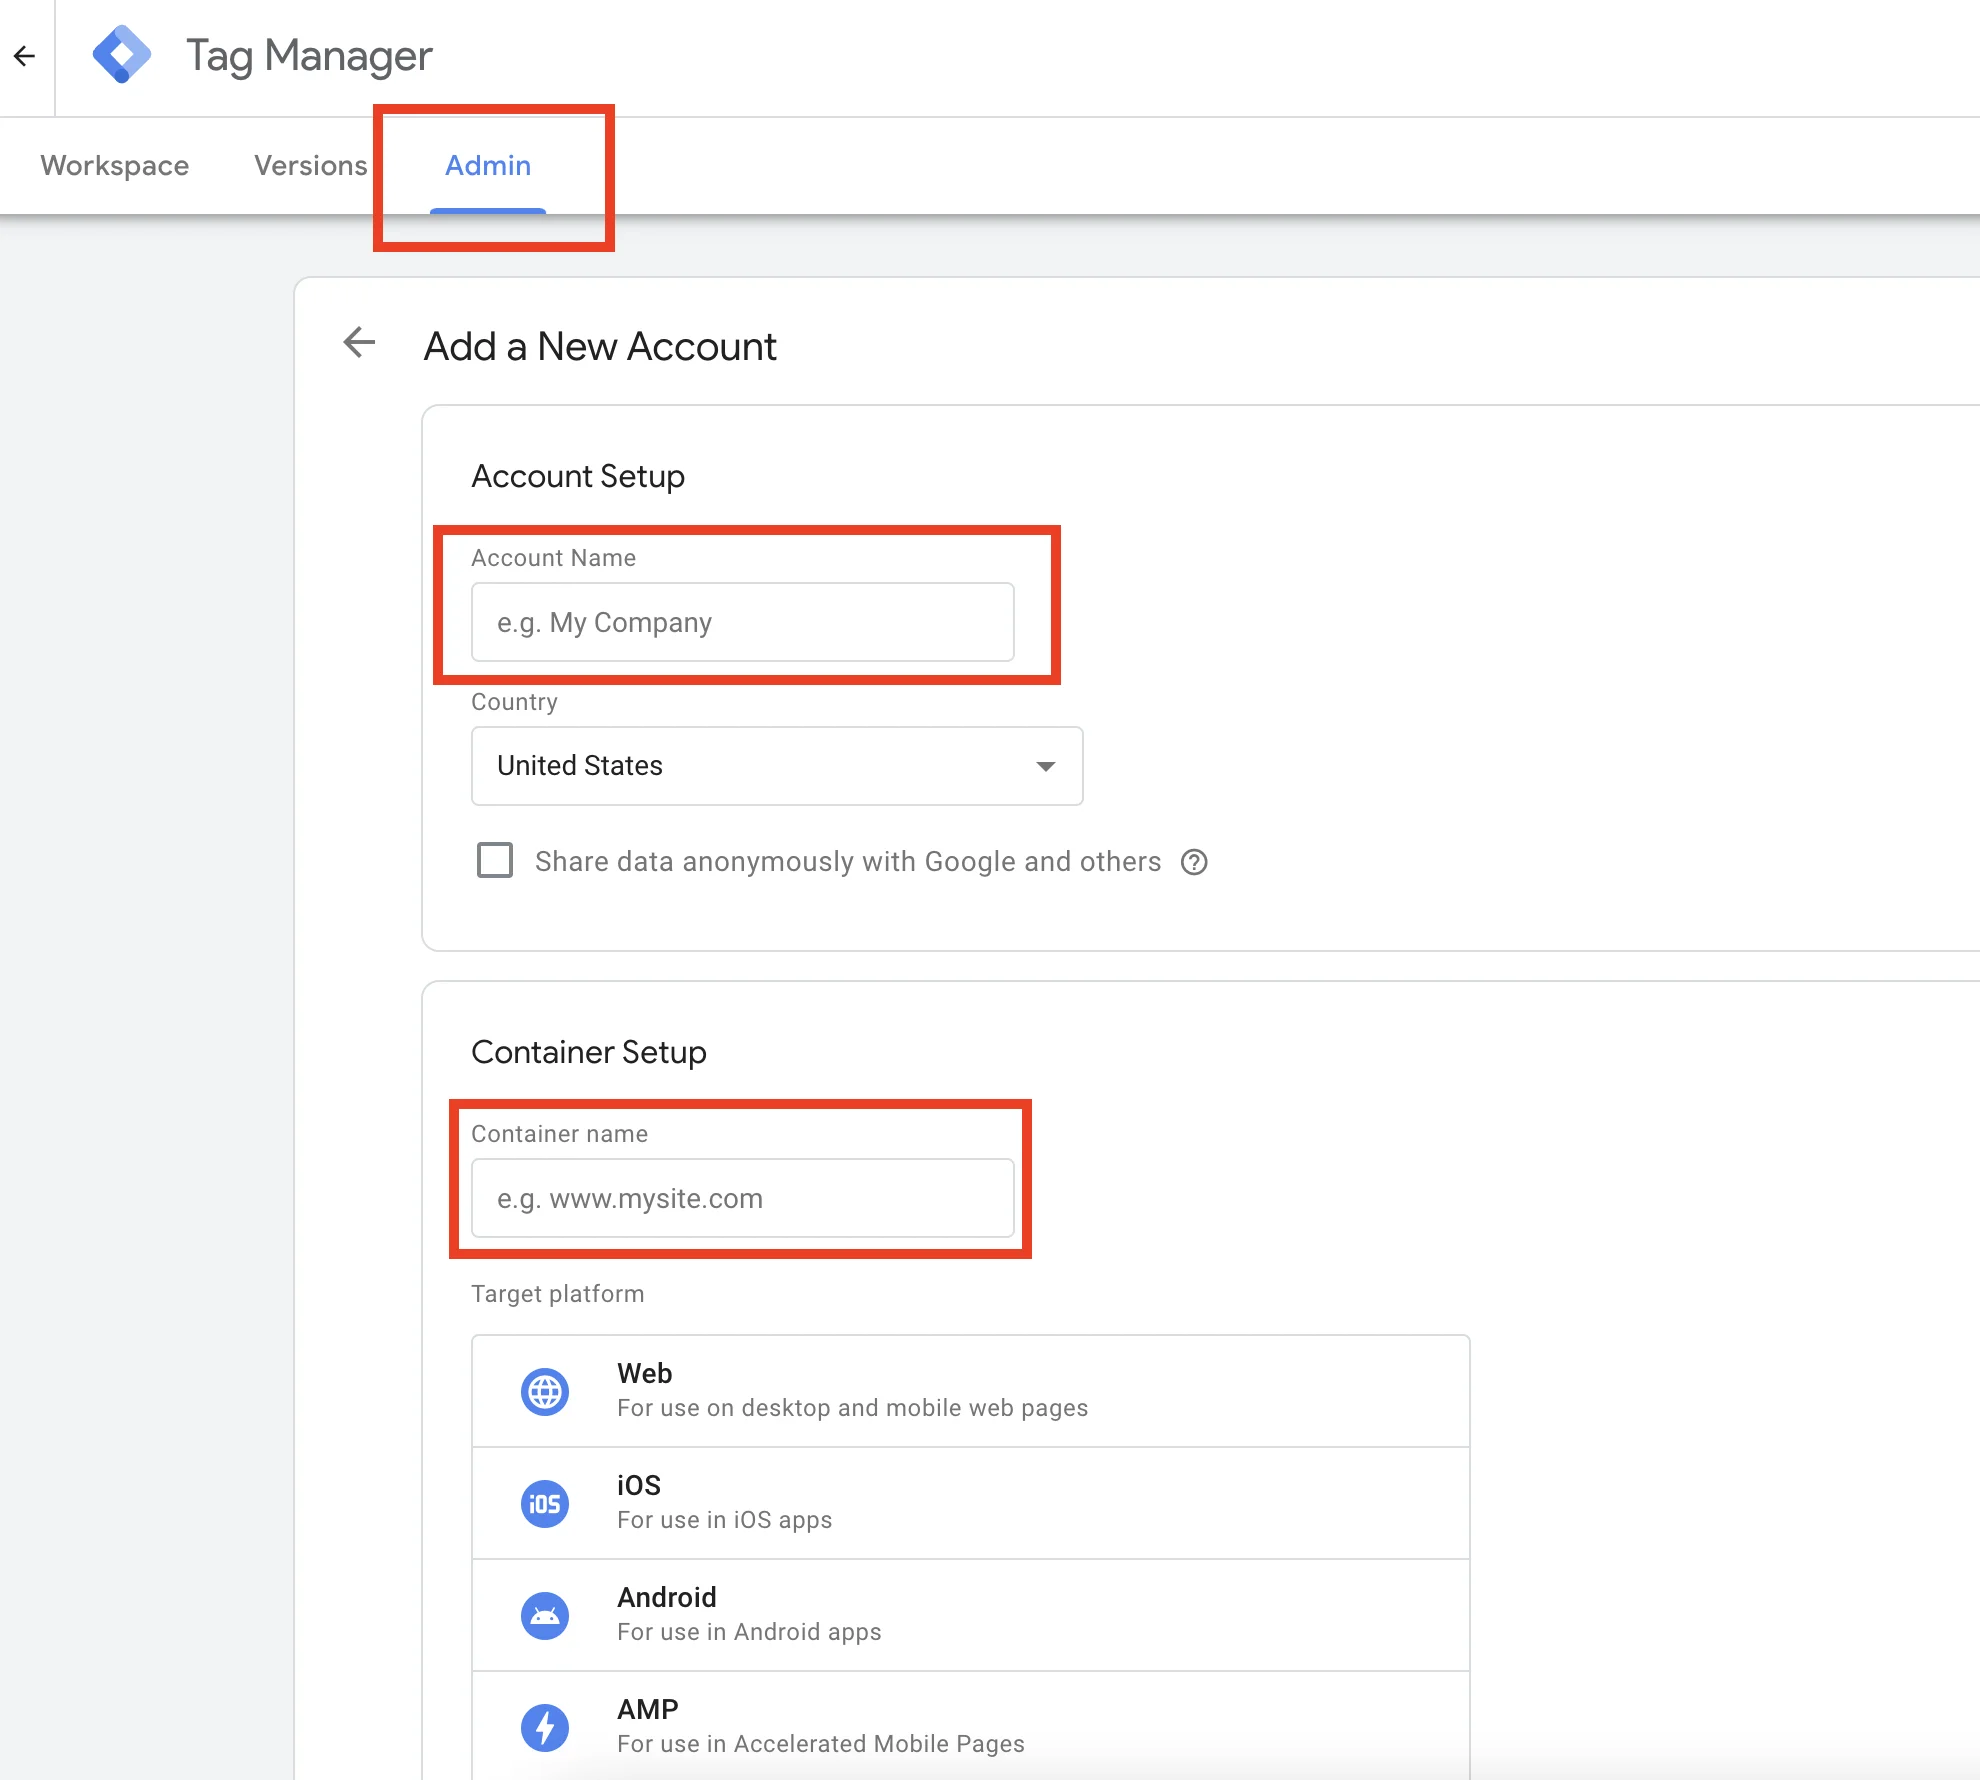
Once you have signed in, you will be taken to the Google Tag Manager dashboard. From there, click on the “Create Account” button to create a new account.
Create a Container

After you have created a Google Tag Manager account, the next step is to create a container. A container is a place where you can add all your tags for a particular website.
To create a container, click on the “Create Container” button on the dashboard. You will then be prompted to enter the container name and choose the type of container. For WordPress, select “Web” as the container type.
Once you have entered the container name and chosen the container type, click on the “Create” button. You will be taken to the container workspace.
Install the “Google Tag Manager for WordPress” plugin on WordPress
Now that you have created a container, the next step is to add the Google Tag Manager code to your WordPress website.
The easiest way to add the Google Tag Manager code to WordPress is to use a plugin. There are several plugins available in the WordPress plugin repository that allow you to add Google Tag Manager to your website easily.
One of the most popular plugins is the “Google Tag Manager for WordPress” plugin. To add this plugin, go to your WordPress dashboard and click on “Plugins” -> “Add New.”
Search for “Google Tag Manager for WordPress” in the search bar, and click on the “Install Now” button next to the plugin.

Once the plugin is installed, click on the “Activate” button to activate it.
Configure the Plugin
After activating the plugin, the next step is to configure it.
To do this, go to the “Settings” -> “Google Tag Manager” page in your WordPress dashboard. You will then be prompted to enter your Google Tag Manager ID.
To find your Google Tag Manager ID, go back to the Google Tag Manager dashboard and click on the container you created earlier. You will then see a screen that displays your container ID.
Copy the container ID and paste it into the “Google Tag Manager ID” field on the WordPress plugin settings page. Once you have entered your Google Tag Manager ID, click on the “Save Changes” button.
Test and Publish
Now that you have added Google Tag Manager to WordPress and configured the plugin, the final step is to test and publish your changes.
To test your implementation, go back to the Google Tag Manager dashboard and click on the “Preview” button in the top right-hand corner. This will open a new window with your website and the Google Tag Manager debugger.
Navigate through your website and make sure that all your tags are firing correctly. Once you have confirmed that everything is working correctly, click on the “Publish” button in the Google Tag Manager dashboard to publish your changes.
Congratulations, you have successfully added Google Tag Manager to WordPress! With Google Tag Manager, you can now easily manage and track all your website’s analytics and third-party tools in one place.


