Launching a new WordPress website? This guide will cover all the necessary steps required to turn your WordPress website into an SEO-friendly site, helping improve organic performance.
Table of contents
WordPress SEO URLs
Using structured URLs has many SEO and user benefits. The aim here is to build a silo structure with top-level pages followed by more granular level pages. For example
- Top-Level: example.com/laptops
- Granular-Level: example.com/laptops/13″-Macbook-Pro
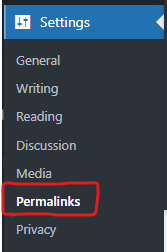
To archive this in WordPress we must edit our permalinks, these settings can be found in your WordPress admin dashboard > Settings > Permalinks as shown below.
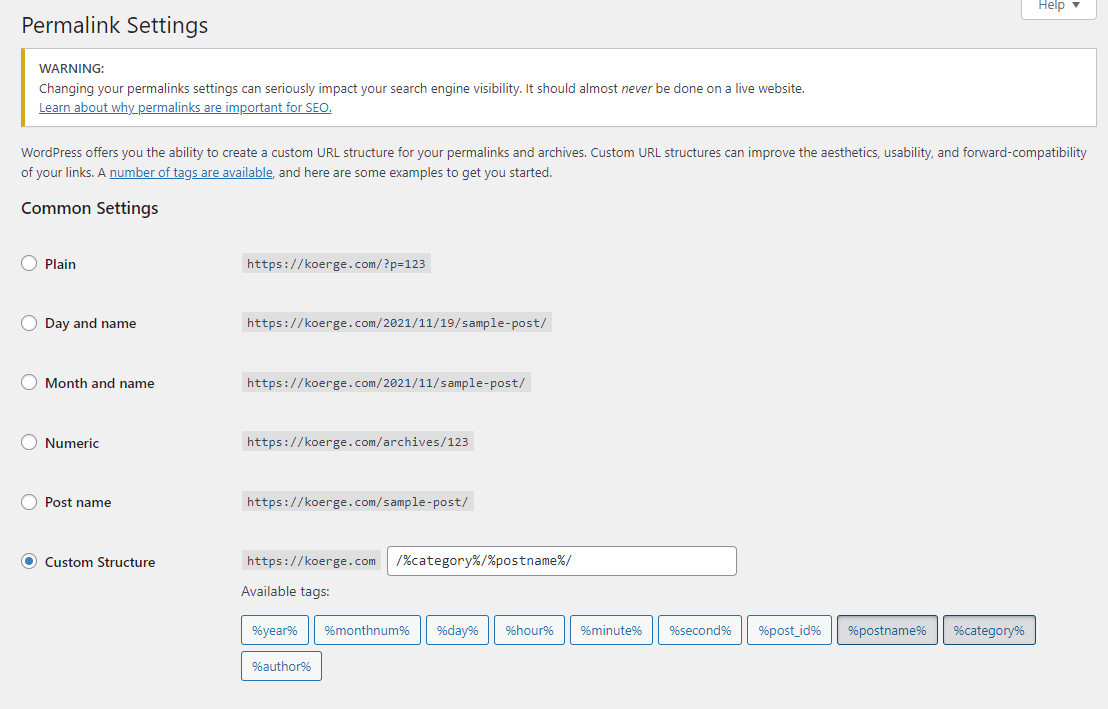
Here we can select ‘Custom Structure’ and enter the following:
/%category%/%postname%/
Your Permalink settings should look like this:
What will this do?
Once you save the settings above, WordPress will automatically structure your URLs based on the category each article is assigned to. For example, example.com/category-here/article-name-here/
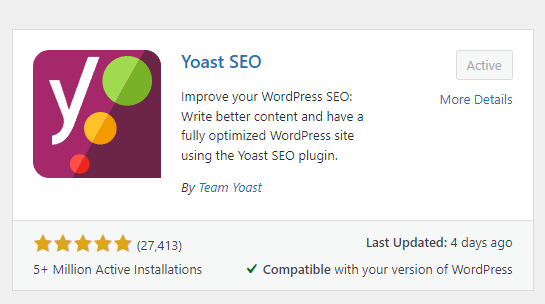
Install the Yoast SEO plugin
Navigate to Plugins > Add New and search for ‘Yoast SEO’
The Yoast SEO plugin unlocks granular level SEO control over every page on your website. For example, if you had an article named How to host multiple websites under a single web hosting plan your article’s page title (featured in Google’s search results) will become:
How to host multiple websites under a single web hosting plan – Your Blog’s name
When we look at a preview of how our page will display in Google’s search results, we can see it’s too long and our WordPress name has been cut out entirely.
With Yoast SEO you can keep your article’s name as is and overwrite the page title to something shorter, more SEO friendly. This can be done by navigating to your article within the WordPress admin panel and scrolling down until you find the Yoast SEO features shown below.
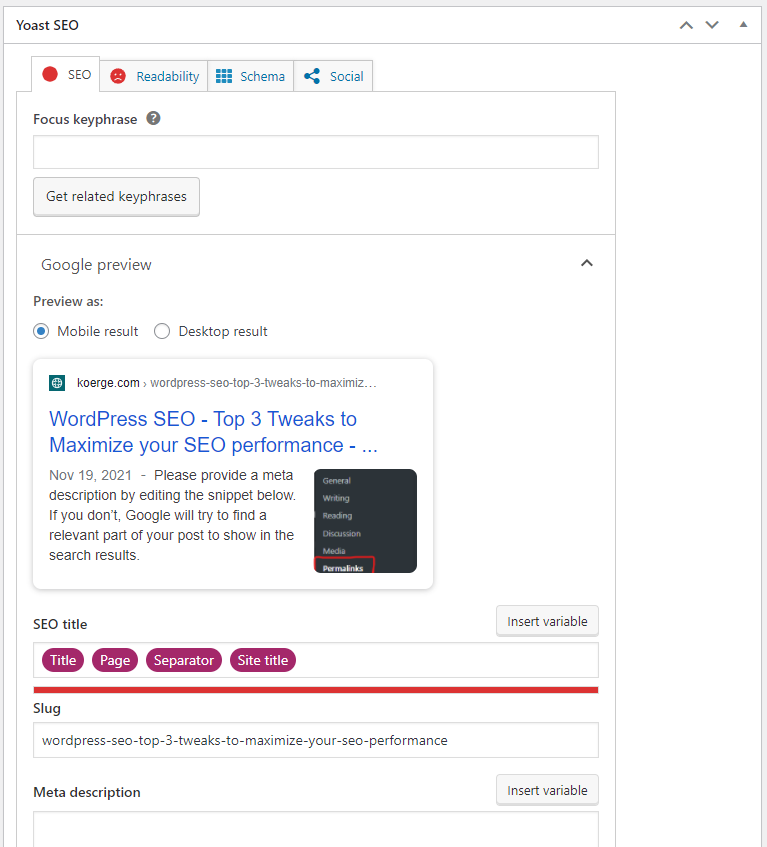
Here you can manually set a page title and a meta description, improving the articles ability to perform in Google’s search results.
Quick Page Speed Improvements
Having a slow website cannot only frustrate your visitors but it’s also a Google ranking factor. This article won’t go into the granular level of perfecting your websites speed. However, we will cover one fundamental that every WordPress website regardless of how big or small should always have enabled and that’s page caching.
Page caching can not only allow your website to handle significantly more visitors concurrently then before, but it can significantly improve the page load times for your visitors.
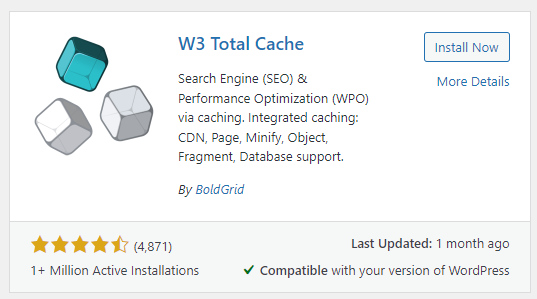
There are many WordPress plugins for page caching, all of which are great. For our example, we will use W3 Total Cache. Simply search, install and activate the plugin.
For the sake of simplicity, we will only make one small adjustment in the W3 Total Cache plugin that yields the highest SEO benefit. Navigate to W3 Total Cache which is named ‘Performance’ in your WordPress admin panel, select General Settings and enable Page Cache.
At first, you may not notice a page speed improvement however if you visit your website as a visitor (must not be logged in) and click around back and forth around your website it will allow the W3 Total Cache to activate on each page, unlocking the significant page speed benefits.
Optional additional step
This step is optional but can have significant advantages on websites that do not receive a lot of visitors i.e. a brand new WordPress site.
Navigate to Page Cache and change Garbage Collection Interval from 3600 to 2419200.
Without this change, cached pages will be removed automatically every hour. On websites with low or no traffic will result in never seeing the benefit of the plugins page cache feature. The time we set above keeps pages cached for 1 month.
Note: Updated articles are purged automatically, therefore, you shouldn’t experience caching issues with content not updating. If you want to learn more about this please get in touch with us.


